
VPS教程
专注VPS评测和优惠码发布

PanIndex是一个简易的网盘目录列表程序,支持网盘模式:本地,天翼云,阿里teambition,这篇文章就用宝塔面板来搭建这个列表程序。宝塔服务器面板,一键全能部署及管理,送你3188元礼包,点我领取https://www.bt.cn/?invite_code=MV9oZ2xobWI=
项目:https://github.com/libsgh/PanIndex
文档:https://libsgh.github.io/PanIndex/
1)下载程序,这里测试的系统是centos7 64位,所以我们选择这个版本下载,其他根据自己的系统选择。
https://github.com/libsgh/PanIndex/releases/download/v1.0.6/PanIndex-v1.0.6-linux-amd64.tar.gz
2)下载后解压,额,默认下载到了root目录,这个可以自行调整。解压就在宝塔面板里解压吧。你也可以用命令如下:
tar -xvf PanIndex-v1.0.6-linux-amd64.tar.gz3)配置config.json文件,在你的程序根目录找到这个文件开始配置。
注意:
mode:网盘选择,默认是cloud189,如果是阿里teambition,那么就改成teambition即可。
user:天翼的账号
password:天翼网盘的登录密码
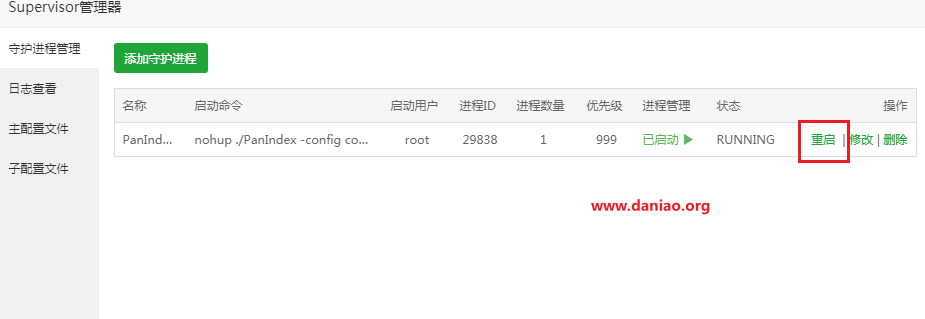
{ "host": "0.0.0.0", "port": 8080, "mode": "cloud189", "user": "183xxxx7765", "password": "xxxx", "root_id": "-11", "pwd_dir_id": [ { "id": "51496311321353335", "pwd": "1234" } ], "hide_file_id": "", "heroku_app_url":"https://pan-index.herokuapp.com", "api_token": "1234", "theme": "boot", "damagou": { "username":"", "password":"" }, "only_Referer": [], "cron_exps": { "refresh_cookie": "0 0 8 1/1 * ?", "update_folder_cache": "0 0 0/1 * * ?", "heroku_keep_alive": "0 0/5 * * * ?" }}4)配置Supervisor管理器,添加进程守护,具体看图:
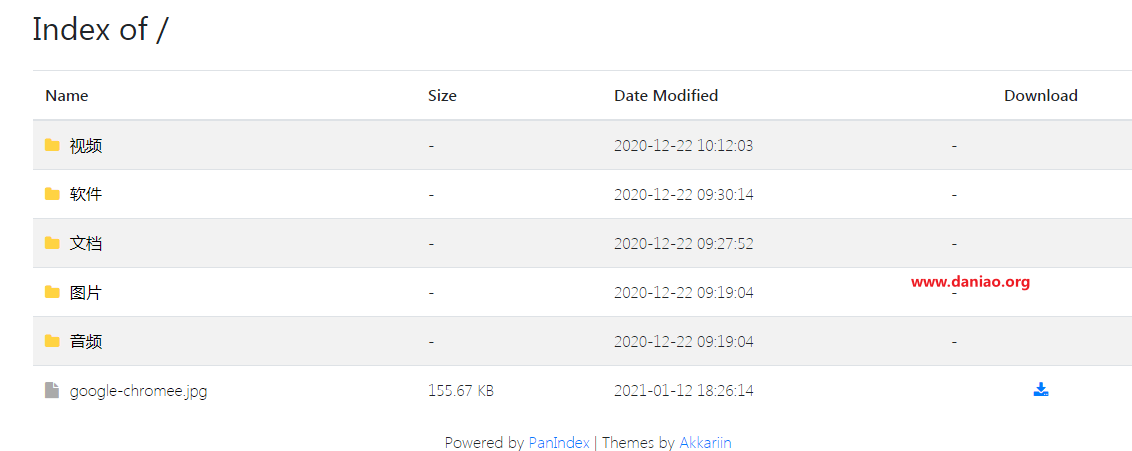
5)浏览器访问 :ip:8080 即可看到效果,如果打不开,需要在安全中放行8080端口。

部署阿里teambition的网盘~~
1)直接配置config.json文件
{ "host": "0.0.0.0", "port": 8080, "mode": "teambition", "user": "183xxxx7765", "password": "xxxx", "root_id": "5fe14988401ce25551c525551e3", "pwd_dir_id": [ { "id": "51496311321353335", "pwd": "1234" } ], "hide_file_id": "", "heroku_app_url":"https://pan-index.herokuapp.com", "api_token": "1234", "theme": "boot", "damagou": { "username":"", "password":"" }, "only_Referer": [], "cron_exps": { "refresh_cookie": "0 0 8 1/1 * ?", "update_folder_cache": "0 0 0/1 * * ?", "heroku_keep_alive": "0 0/5 * * * ?" }}注意:
mode换成teambition
root_id:项目id,至于如何获取项目ID
2)重启下supervisord,刷新浏览器即可看到效果(浏览器访问,IP:8080)
3)效果
以上是简单的利用panindex搭建天翼和teambition的列表目录的教程,具体修改还需要参考作者的文档教程。